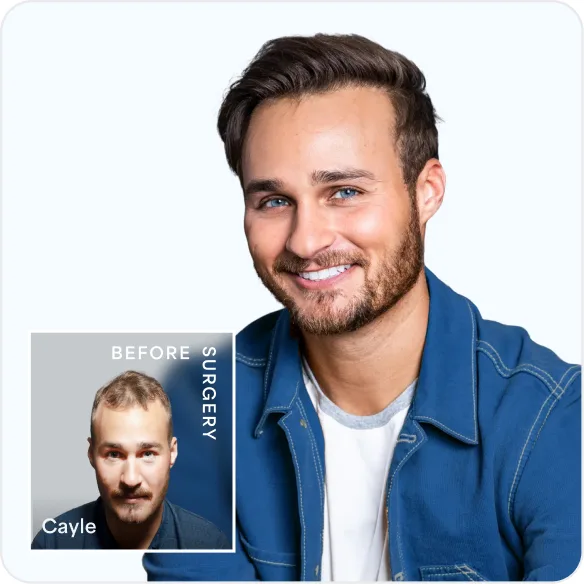
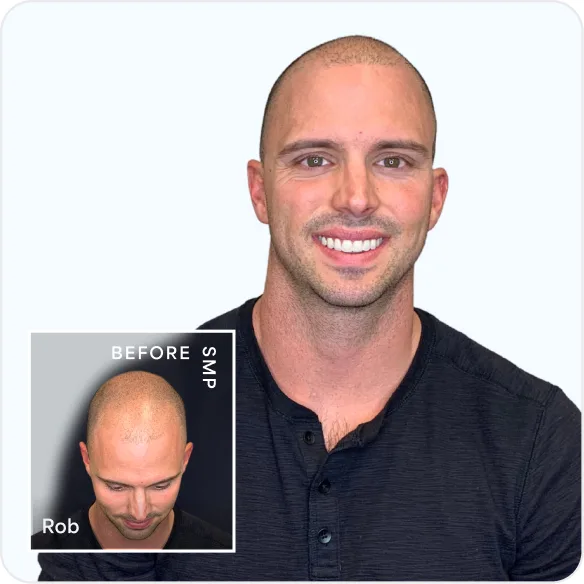
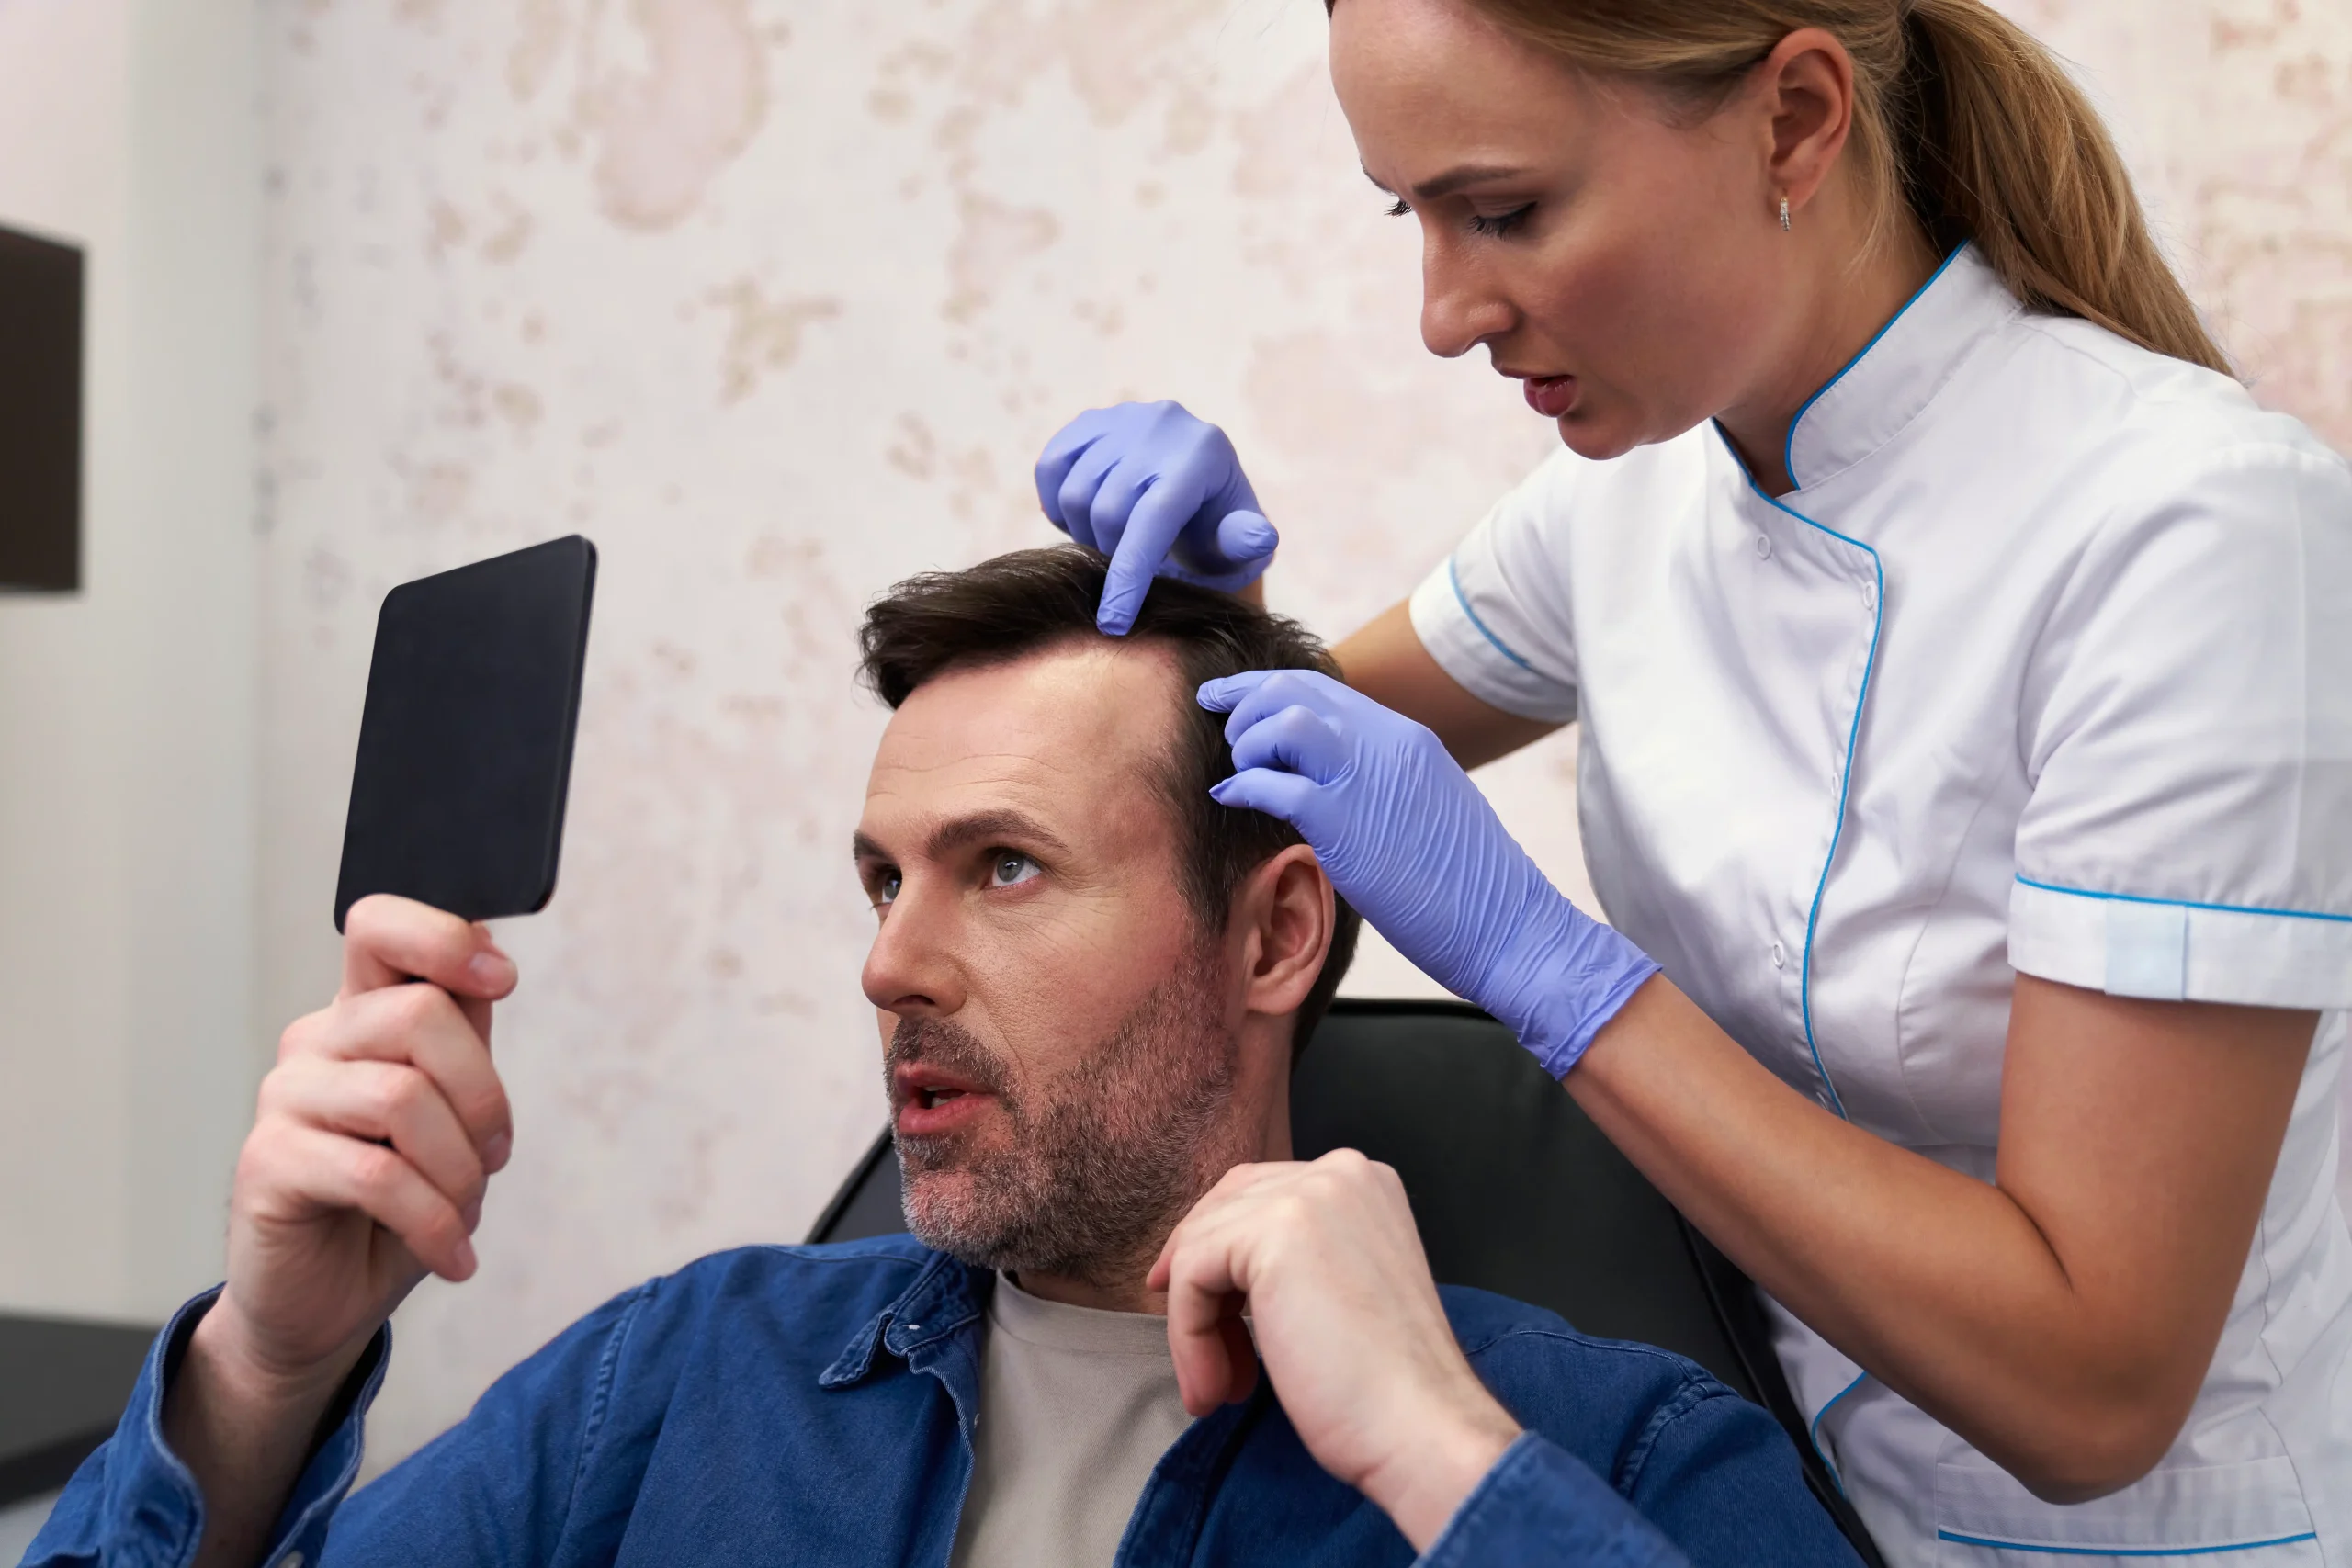
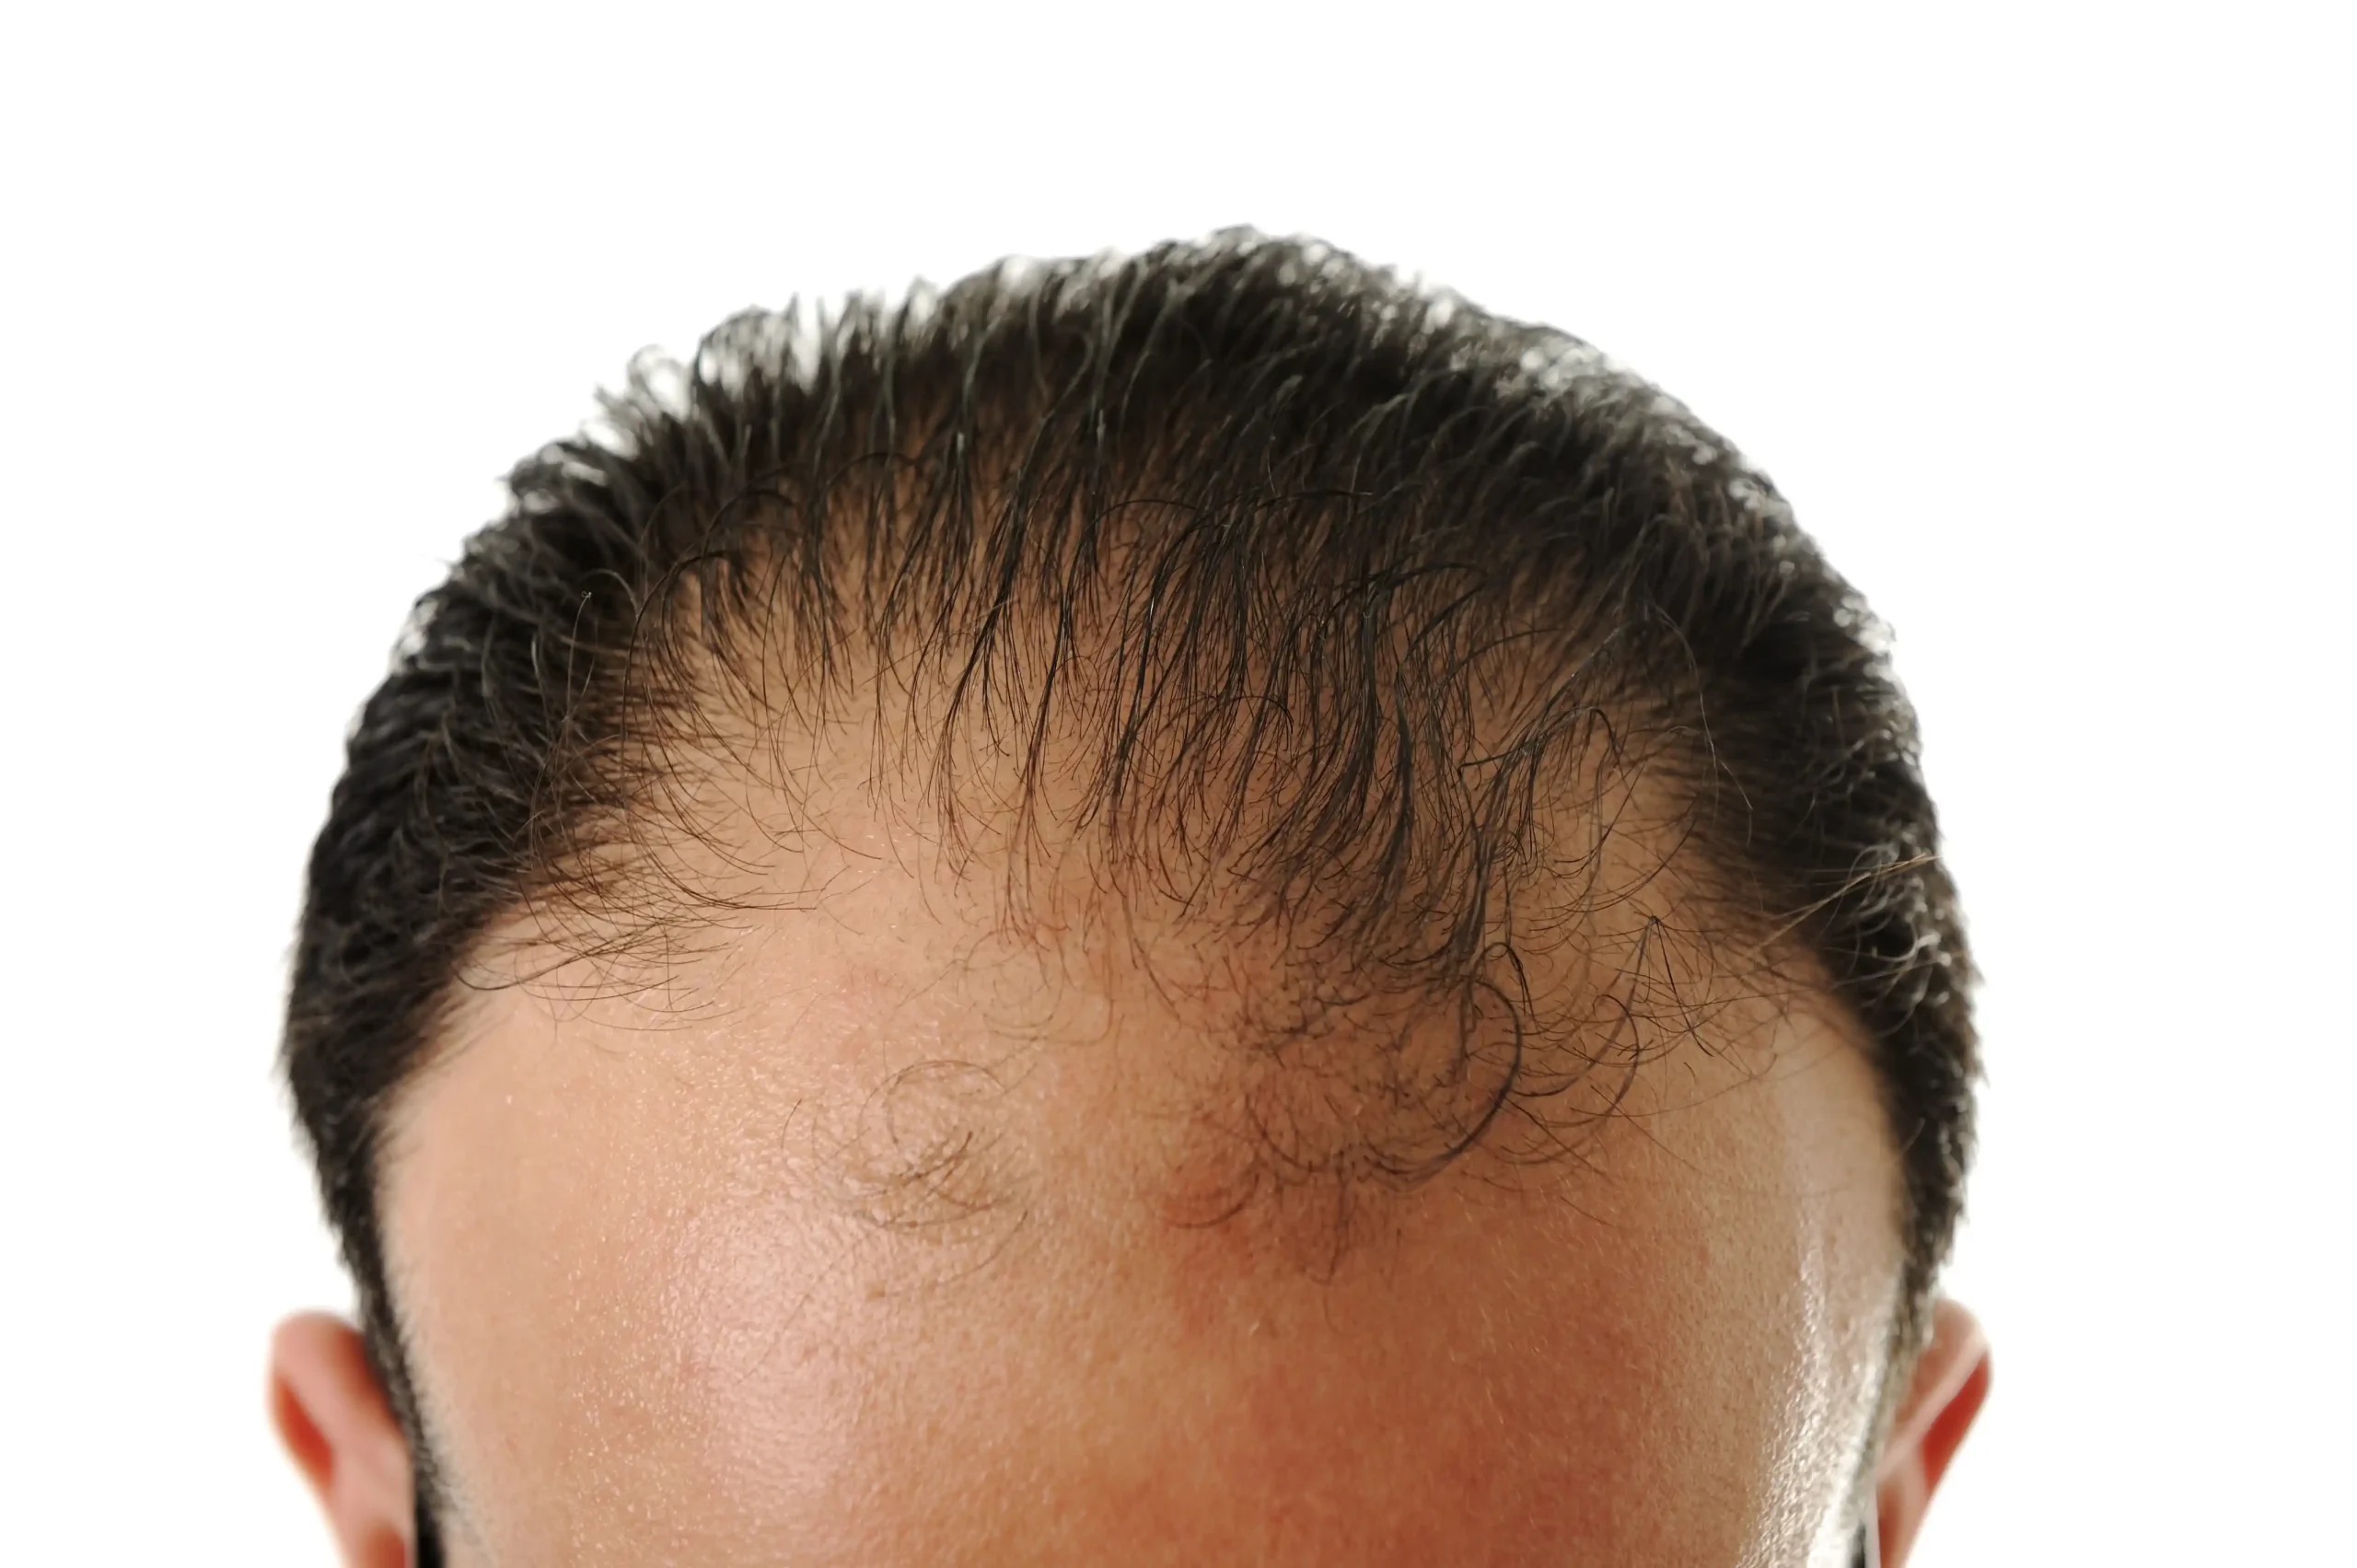
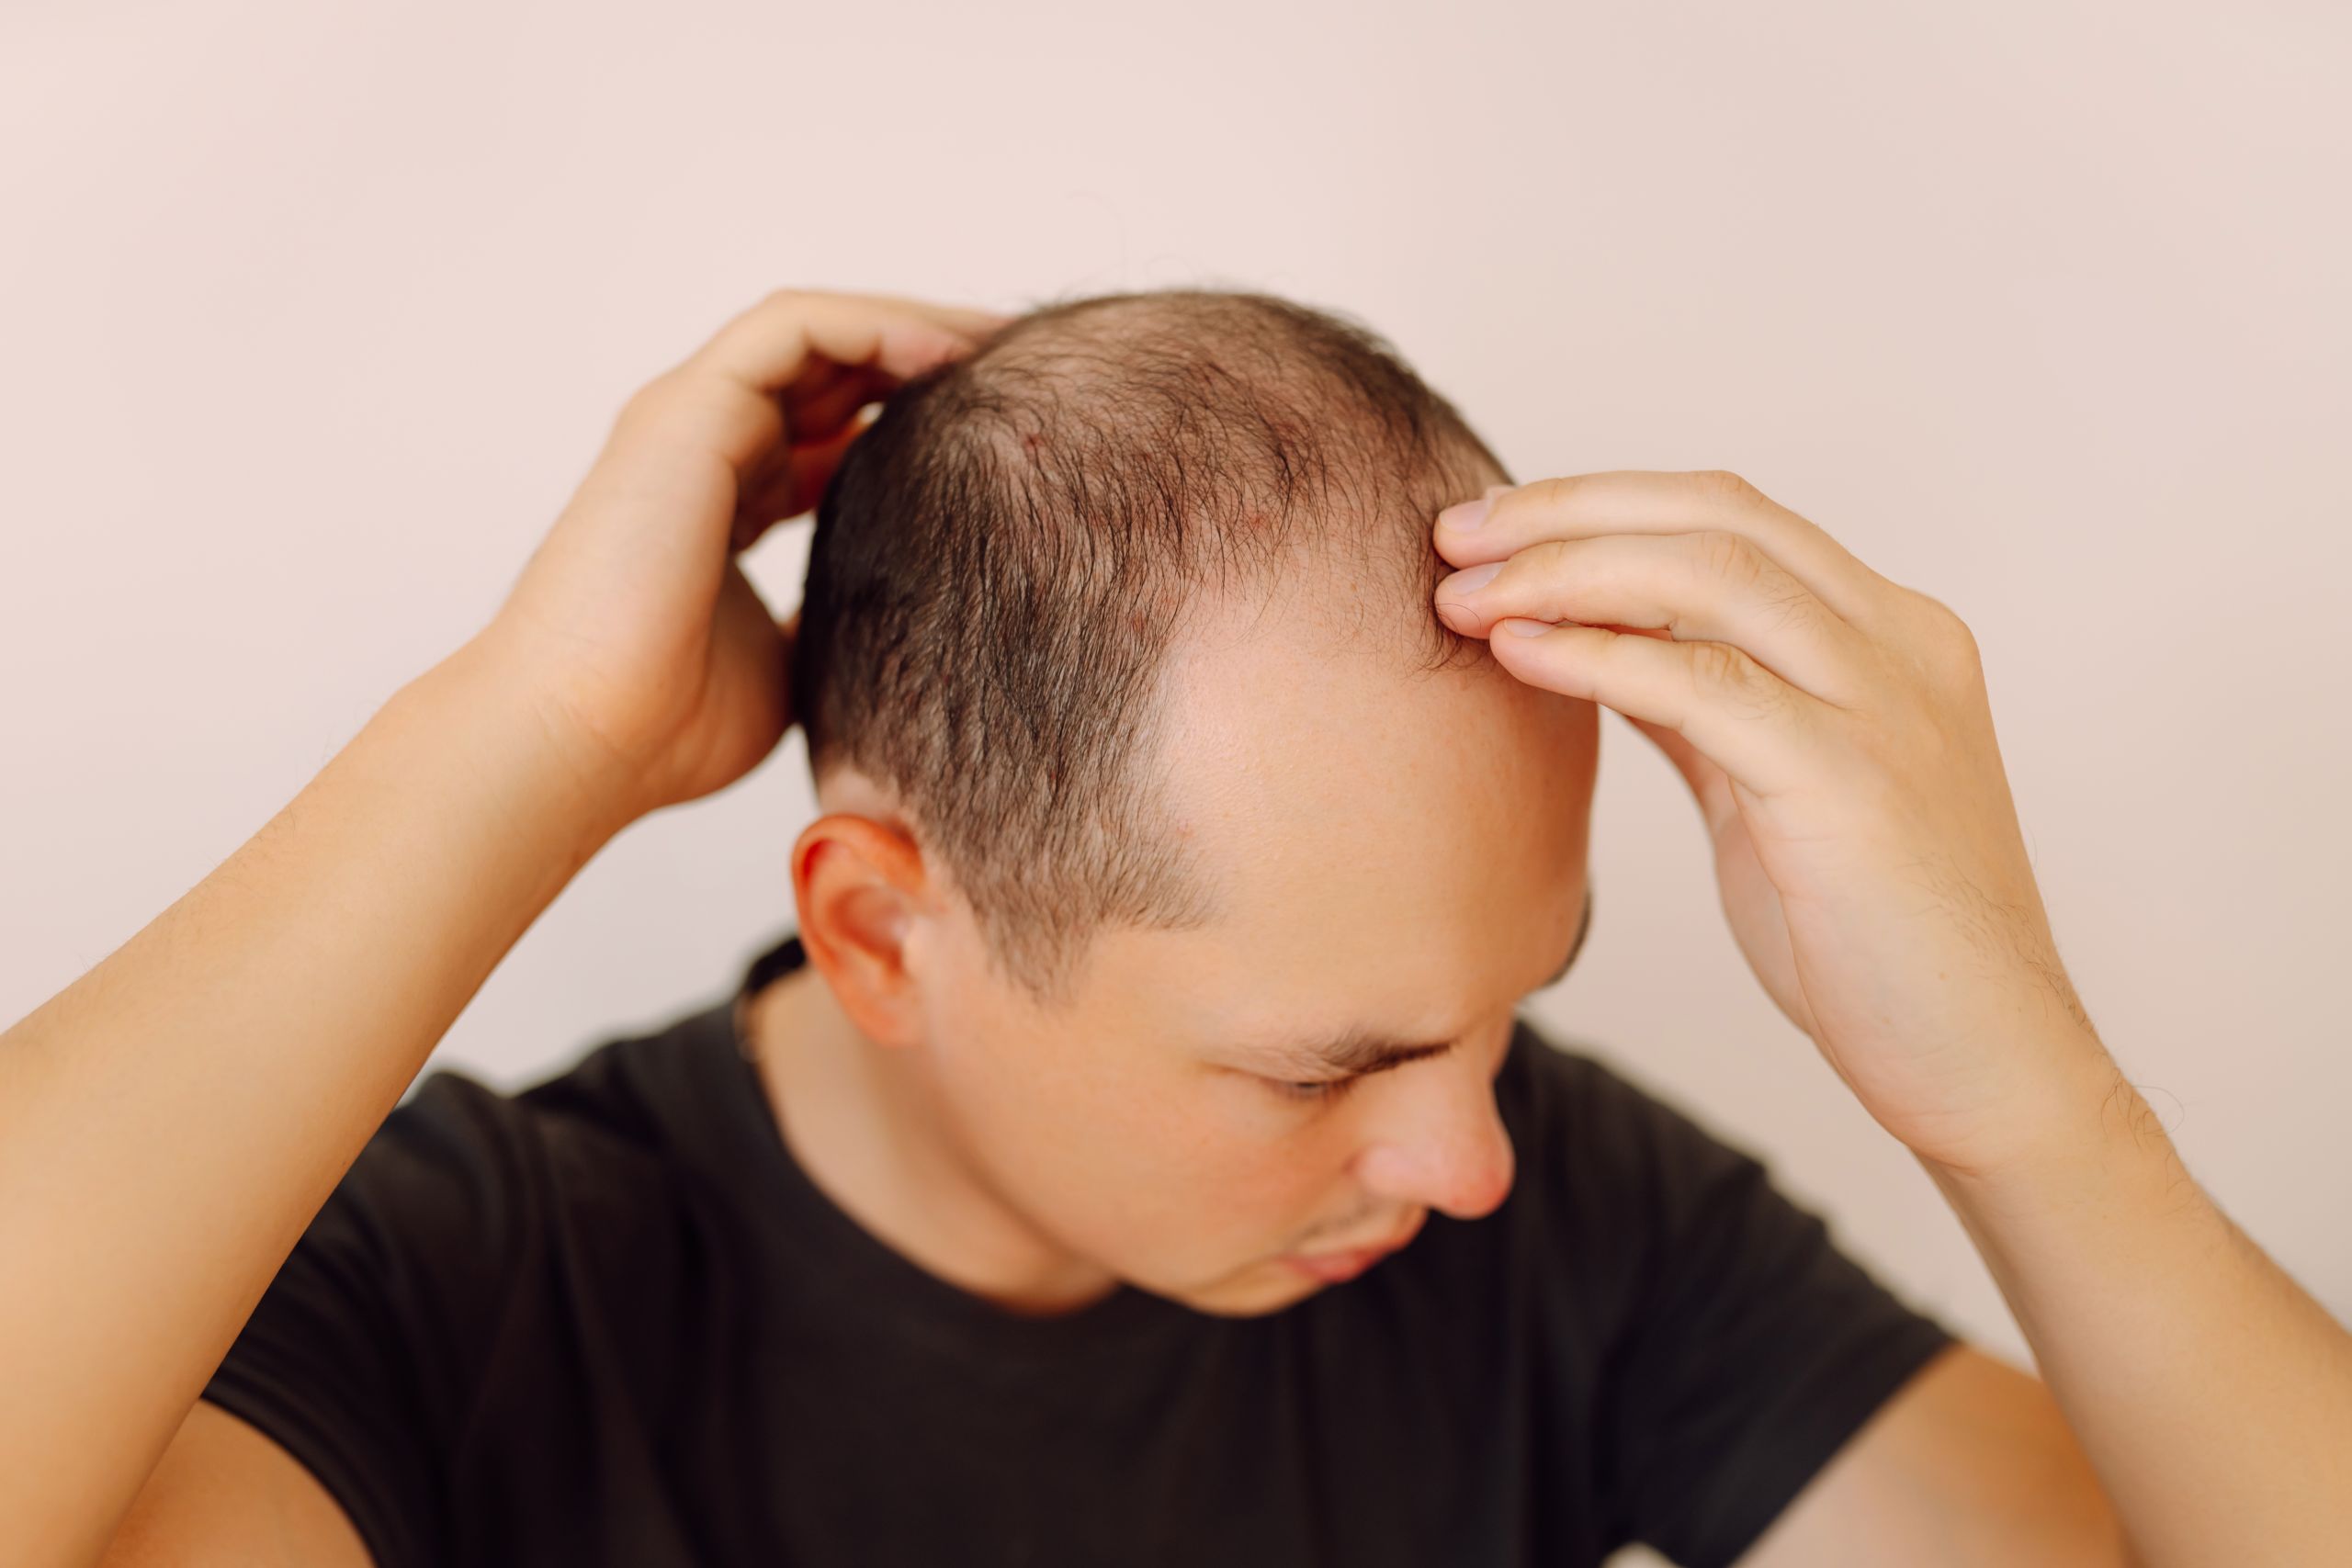
A few weeks before shelter-in-place orders became official, one thing I was looking forward to was getting a professional blowout. 

With the protective style I had put in at the end of January reaching its expiration date, it was definitely time to take out my faux locs and tend to my natural hair. Still, there was nothing I wanted more than to have somebody else do the washing and styling part. However, once salons officially closed due to the coronavirus pandemic, I figured that wasn't going to happen for the foreseeable future. 

Of course it sucked in a first-world-problems kinda way, but in reality, I knew I was perfectly capable of doing my own hair at home. 

Aside from all the cosmetology courses I took many moons ago in high school that offered me lifelong skills, there was also the fact that being forced to learn how to do my hair on my own definitely turned out to be a blessing in disguise. 

Over the years, countless hairstylists have told me they weren't able to work with textured hair, which eventually just made me forego salon visits for years do my own thing. 

With stylists now being expected to know how to care for all hair types, my days of avoiding the salon are now (mostly) over. But since none of us will be sitting in anyone's chair any time soon, I decided to share my personal tutorial for at-home blowouts.

To all my girls with curls and coils, make sure to take note. 

All of my secrets for a silky blowout, ahead. 

Step One: Thoroughly Cleanse Your Hair and Scalp

I don't know about you, but I want my hair to feel light and have lots of bounce, which means I need to get rid of any and all build-up prior to styling. Without a proper wash, your strands can end up feeling tacky once they're dry, which is super frustrating after you've put in all that time.

As much as I love co-washing, I usually go for a moisturizing shampoo or use an apple cider vinegar rinse on my hair to truly ensure my hair and scalp are thoroughly cleansed. "If you are prone to dandruff or have other buildup on your hair and scalp, an apple cider vinegar rinse is a great natural remedy with tons of scientifically proven benefits," like adding shine and getting rid of fungus on the scalp, says Elissa Atchley, artistic educator at HairClub. "If you are regularly blow drying your curls straight, you could alternate between a good co-wash and moisturizing shampoo to maintain moisture balance in your hair," she adds. 

One of my go-to shampoos is Pantene's Gold Series Moisture Boost Shampoo. When I need an ACV rinse, I grab Bragg's Raw Organic Apple Cider Vinegar with The Mother, pour some in a bottle, and heavily dilute the mixture with water. 

If you have extra-thick hair like mine, get a tool like Colorproof's Scalp Cleansing Brush to make sure you are getting the product right down to the roots. 

Step Two: Detangle Your Hair in the Shower 

The styling process will go a lot smoother if your hair has already been prepped, and detangling is a huge part of that. When you start blow drying your hair, you don't want to have to stop every five seconds because your hair keeps getting tangled up in the brush. 

While you're in the shower, make sure your hair is fully saturated with water, then add some of your favorite conditioner from roots to ends to create a good amount of slip. I typically opt for Aussie's Miracle Moist Conditioner, but you can use whatever you prefer. Next, grab a wide-tooth detanging comb and start at the ends of the hair, working your way up to your roots to decrease any tugging and breakage. 

Afterwards, I typically put my hair up into a clip and let the conditioner sit in my hair for a little while as I wash my body and shave. Once I'm done, I rinse everything out. 

Step Three: Deep Condition

I truly believe that deep conditioning your hair on a weekly basis is the most major of keys if you want soft, bouncy, healthy hair, and I am prepared to die on this hill. Just make sure to towel dry your hair as much as possible before applying it to your strands to ensure your hair is actually able to absorb the product. 

If you don't already have a go-to treatment, OGX's Pracaxi Oil Recovery Mask is a great option for anyone with curly hair. It provides deep moisture and you don't have to leave it on for a long time for it to work its magic. Depending on how much time I have, I usually keep it in for anywhere from 30 minutes to a few hours. I also make sure to put a shower cap over my hair and put my Hot Head heat cap on top for the duration of the treatment to help the conditioner penetrate the hair shaft. 

When you're done, make sure to thoroughly rinse out the conditioner, or else you'll be left with clammy, stiff hair in the end. "No one wants to go through the effort of a blowout to see flakes on their scalp or that the hair is already looking oily," Atchley says. 

Step Four: Blow Dry

If you have the physical strength to manage using a separate brush and blowdryer on your own hair, more power to you. But my spaghetti-like arms simply cannot, so I go for the two-in-one option. 

No lies, Gold 'N Hot's Professional One Step Ionic Volumizer Dryer & Styler — which was specially crafted for textured hair — is a game-changer. Not only is it super light and incredibly easy to use, but it will get your hair straight and sleek enough to the point where you only have to do one pass with the flat iron, if you even need to use one.

It comes with three settings: cool, low, and high for optimized styling, and its soft bristles won't tug and break off your coily hair in the process, like many traditional round brushes can do. 

Before I get started, I make sure to apply some heat protectant throughout my hair in order to keep my curls in tact. I love Oribe's Invisible Defense Universal Protection Spray because although it's light, it still ​​shields the hair from any damage up to 450 degrees, while protecting against UV rays, and settling frizz. 

Next, I start at the nape of my neck — blowing out medium-size sections at a time, and holding it for a few seconds at the roots — then work my way up to the top of my head.

I have a lot of hair, but with this particular dryer brush, it typically only takes me about 30 minutes or so to finish. The bonus? My arms don't feel like I just completed a 60 minute workout at the end. It's a serious lifesaver. 

Step Five: Flat Iron

Whether or not you flat iron your hair after a blowout is up to you. I personally prefer finishing off with this step to customize my style. Ion's Titanium Multi-Styler has been my go-to for years, since it not only gives me a salon-quality finish, but also allows me to both straighten and add some curls at the ends in a single pass. I am also a huge fan of ghd's Platinum+ Styler for those who want to use less heat. 

Starting again at the nape, and working my way from root to tip, I flat iron my hair in small sections, twisting the tool as I get to my ends to create some bouncy curls. Pro tip: I always make sure to direct the curls at the front away from my face to get a 2020 Farrah Fawcett finish. 

Once I'm done, I flip my head upside down and finger comb my mane to break up the curls, lightly tousle my hair, and add extra volume.

The result? A blowout silkier than Frankie Beverly's soul. 

Step Six: Maintaining Your Blowout

If you want to keep your blowout looking fresh for at least a week, you want to make sure to avoid friction and humidity, which in turn can create frizz. But the heat protectant should help with the latter. 

When my hair's not out I typically twist my hair into a mid-level ponytail, then use a large clip to keep it up. I avoid using hair elastics to prevent friction and tension on the hair shaft. Once I'm ready to go to bed, I tie a silk wrap around the perimeter of my hair and sleep on a silk pillowcase. You can also use a silk or satin bonnet, just be mindful that the covering can make your roots sweat out at night. 

When I take my hair down, I usually just flip my head over and lightly finger comb my strands to give it new life. But you can also add in a few flexirods and leave them in overnight if you want to refresh the loose curls at the ends, without having to add any more heat to your hair.

And that, my friends, is the real-deal secret to DIY blowout success.


Reprinted with Permission from InStyle Magazine

Explore More Resources

HairClub Medical Advisor Dr. Angie Phipps to Star in TLC’s ‘Bad Hair Day’

The latest transformational medical series from TLC, 'Bad Hair Day', features HairClub medical advisor and board-certified expert hair restoration surgeon, Dr. Angie Phipps.

READ MORE

Hair loss is complicated. Solutions don’t have to be.

At HairClub, every day is an opportunity for hair loss awareness. We’re especially glad for platforms like National Hair LossAwareness Month to educate and share the good news. Are you ready?

READ MORE

Life is Better When You Love Your Hair.
Get Started with HairClub® Today.

Start Your Journey